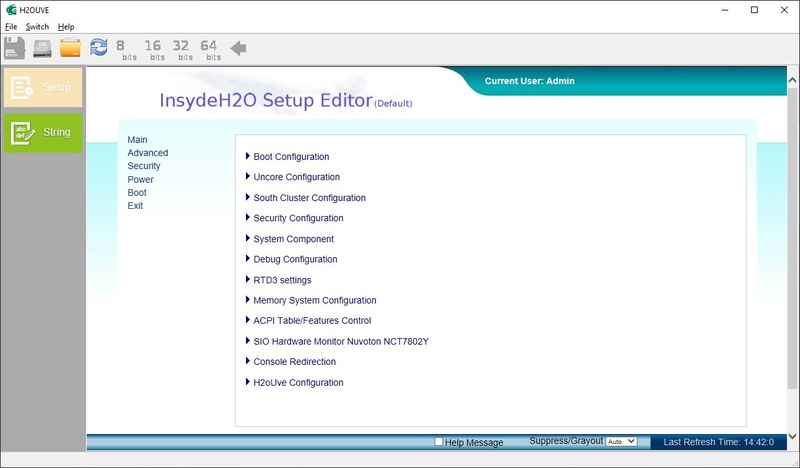
H2OUVE™ (UEFI Variable Editor)
The H2OUVE (UEFI Variable Editor) allows to edit setup settings and variable data of the BIOS Image.
Features
- SCU(Setup) Editor: To edit “runtime/current setup setting” of platform
- Image Setup Editor: To edit “setup Default Setting” of BIOS image
- Variable Editor: To edit “Variable data” at runtime ROM or BIOS image
- Variable Stress Test: Support variable access and stress test on variable at runtime or BIOS image
Supported Operating Systems
- EFI Shell
- DOS
- Windows
- Linux
Prerequisites
<USB-Stick>
    |--- H2OUVE-Sx64.efi
2. Insert the prepared USB Stick to a Starterkit USB port
3. Boot up the system and navigate into the EFI Shell (Boot Manager > Internal EFI Shell)
4. After starting the EFI Shell switch path to the USB stick by typing fs0:.This depends on the amount of conected mass storage devices; with command ls you can check the content of the path.
For a list of all functions the following command can be executed:
H2OUVE-Sx64.efi -h
2. Run H2OUVE-W-GUIx64.exe for a graphical user interface or H2OUVE-W-CONSOLEx64.exe for use via the Command Line Interface (CMD).
When the tool is run on the target system, the BIOS can be loaded and saved directly from the module.
Change Defaults over EFI Shell
The EFI shell can be used to write the defaults of a BIOS image to a config file. This config file contains all possible settings that can also be changed in the runtime BIOS. Afterwards the Config file can be written back into a BIOS image.
Extract BIOS settings to config file
To extract the current BIOS settings from runtime BIOS, the H2OUVE option -gs should be used.
H2OUVE-Sx64.efi -gs <OUTPUT_FILE>
To extract the available BIOS settings from a BIOS binary, the H2OUVE option -gd should be used.
H2OUVE-Sx64.efi -gd <OUTPUT_FILE> -i <BIOS_IMAGE>
The following code uses the BIOS image @bios_image_name@_@bios_image_version@.bin and write the defaults into the file named settings.txt
H2OUVE-Sx64.efi -gd settings.txt -i @bios_image_name@_@bios_image_version@.bin
Change defaults in config file
The default settings of the specified BIOS image are listed in the settings file. The first lines of the settings file explain how the configuration works.
Config File structure
********** "Settings Page Name" **********
(XxXX, X, XXxXXXXX, XxXXX) "Setting Name"
  Callback ID = XxXX
  (0)[*] Disabled  (Default) #Option One (currently selected)
  (1)[] Enabled              #Option Two
Example to activate eMMC Controller
1. Open the Config File with a text editor (e.g. VSCode)
2. Go to the setting that is to be changed (in this case eMMC)
3. Select the option to be enabled by inserting a * between the corresponding brackets:
(0x702, 1, 0x670EEB73D338776D, 0xF4B1) eMMC 5.1 Controller
  Callback ID = 0x5BC
  (0)[*] Disabled  (Default)
  (1)[] Enabled
(0x702, 1, 0x670EEB73D338776D, 0xF4B1) eMMC 5.1 Controller
  Callback ID = 0x5BC
  (0)[] Disabled  (Default)
  (1)[*] Enabled
4. Save the file
Write defaults to BIOS binary
To write the BIOS options from the configuration file back into the BIOS binary, the H2OUVE option -sd should be used.
Command Syntax
H2OUVE-Sx64.efi -sd <SETTINGS_FILE> -i <BIOS_IMAGE>
The following code reads the defaults from in the settings.txt file and writes it into the @bios_image_name@_@bios_image_version@.bin Binary.
H2OUVE-Sx64.efi -sd settings.txt -i @bios_image_name@_@bios_image_version@.bin
After executing the command the specified BIOS binary contains the new defaults and can be programmed to other modules using the H2OFFT tool.